2025 Update! A few years ago we moved from California to Florida so I decided to go back to my hi-lite. While I loved my LED light wall, I struggled with larger families with this set up. I said many times, if I ever did LED again I would go with larger panels. Stay tuned because I am going for it! I'm gonna test LED lighting with larger panels in my new studio. Again, I still absolutely LOVE my hi-lite but I want to try something new that could potentially save me space, since my new studio is a lot smaller. Let's see how it goes!
I know what you might be thinking... Why the change?? My first reason is I love to experiment with new things and my second reason is I have been trying to achieve a certain style that I can't get with my Hi Lite and Einstein so I decided to try something new. Don't get me wrong, I still LOVE my Einstein!

I have seen many faux window light LED photography studios by some amazing photographers and that was my inspiration. But, most of their setups require an electrician which I wanted to avoid so I started researching for an easy install LED light and I found these!! Don't worry I will post the links for you.
My hubby knows about LED lights so he helped me choose. I hope I explain this correctly... we chose these lights because of the amount of lumens which makes it brighter, it's not as bright as other LED panels but enough for my smaller lifestyle space. These are 4000LM the higher the LM the brighter the lights are.

For this next part I get mixed up because I am so used to kelvin but in the LED world the lower the number of Kelvin the warmer the lights are and these at 5000k which came pretty close to daylight. Again, my main reason for selecting these lights was the easy install. I might have to play around with editing to get the exact look I want.
Installation took about an hour and a half and it was as easy as plug and play! We ended up going with 16 lights and 4 packs of curtains. Linked below.

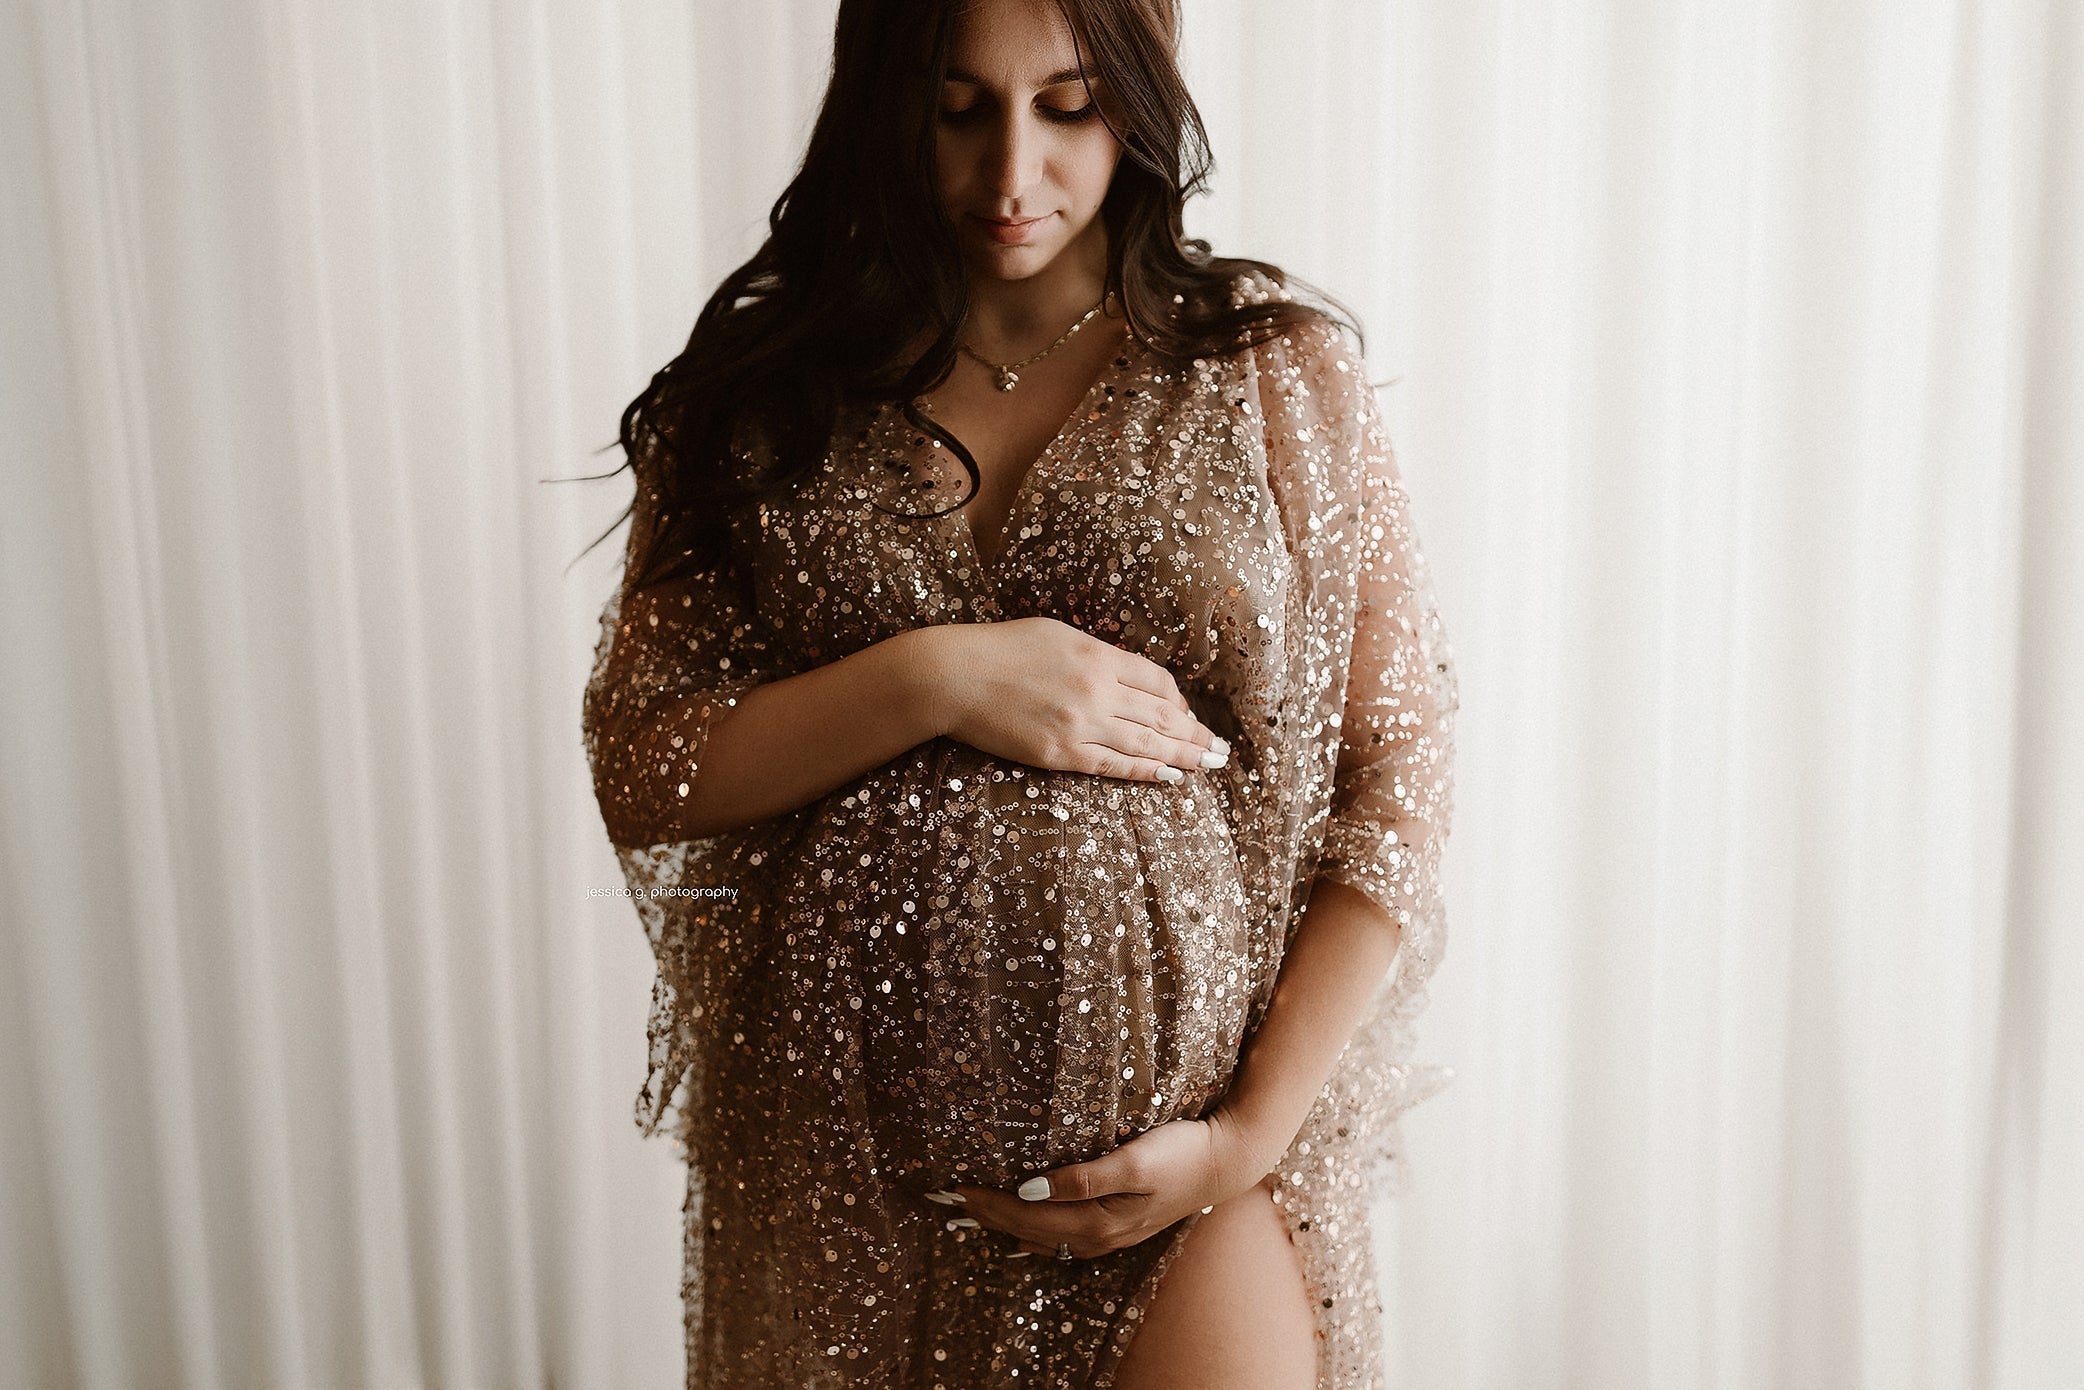
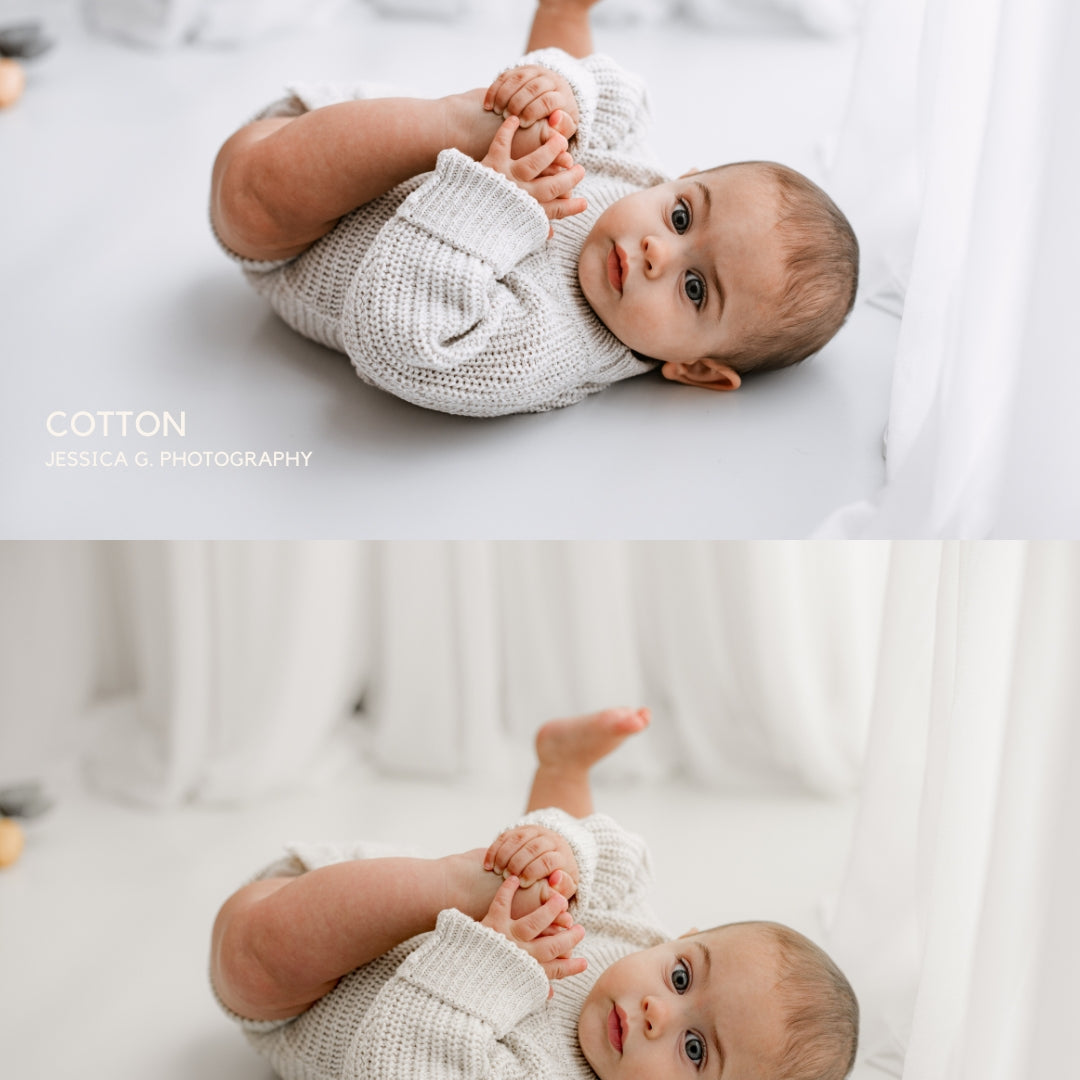
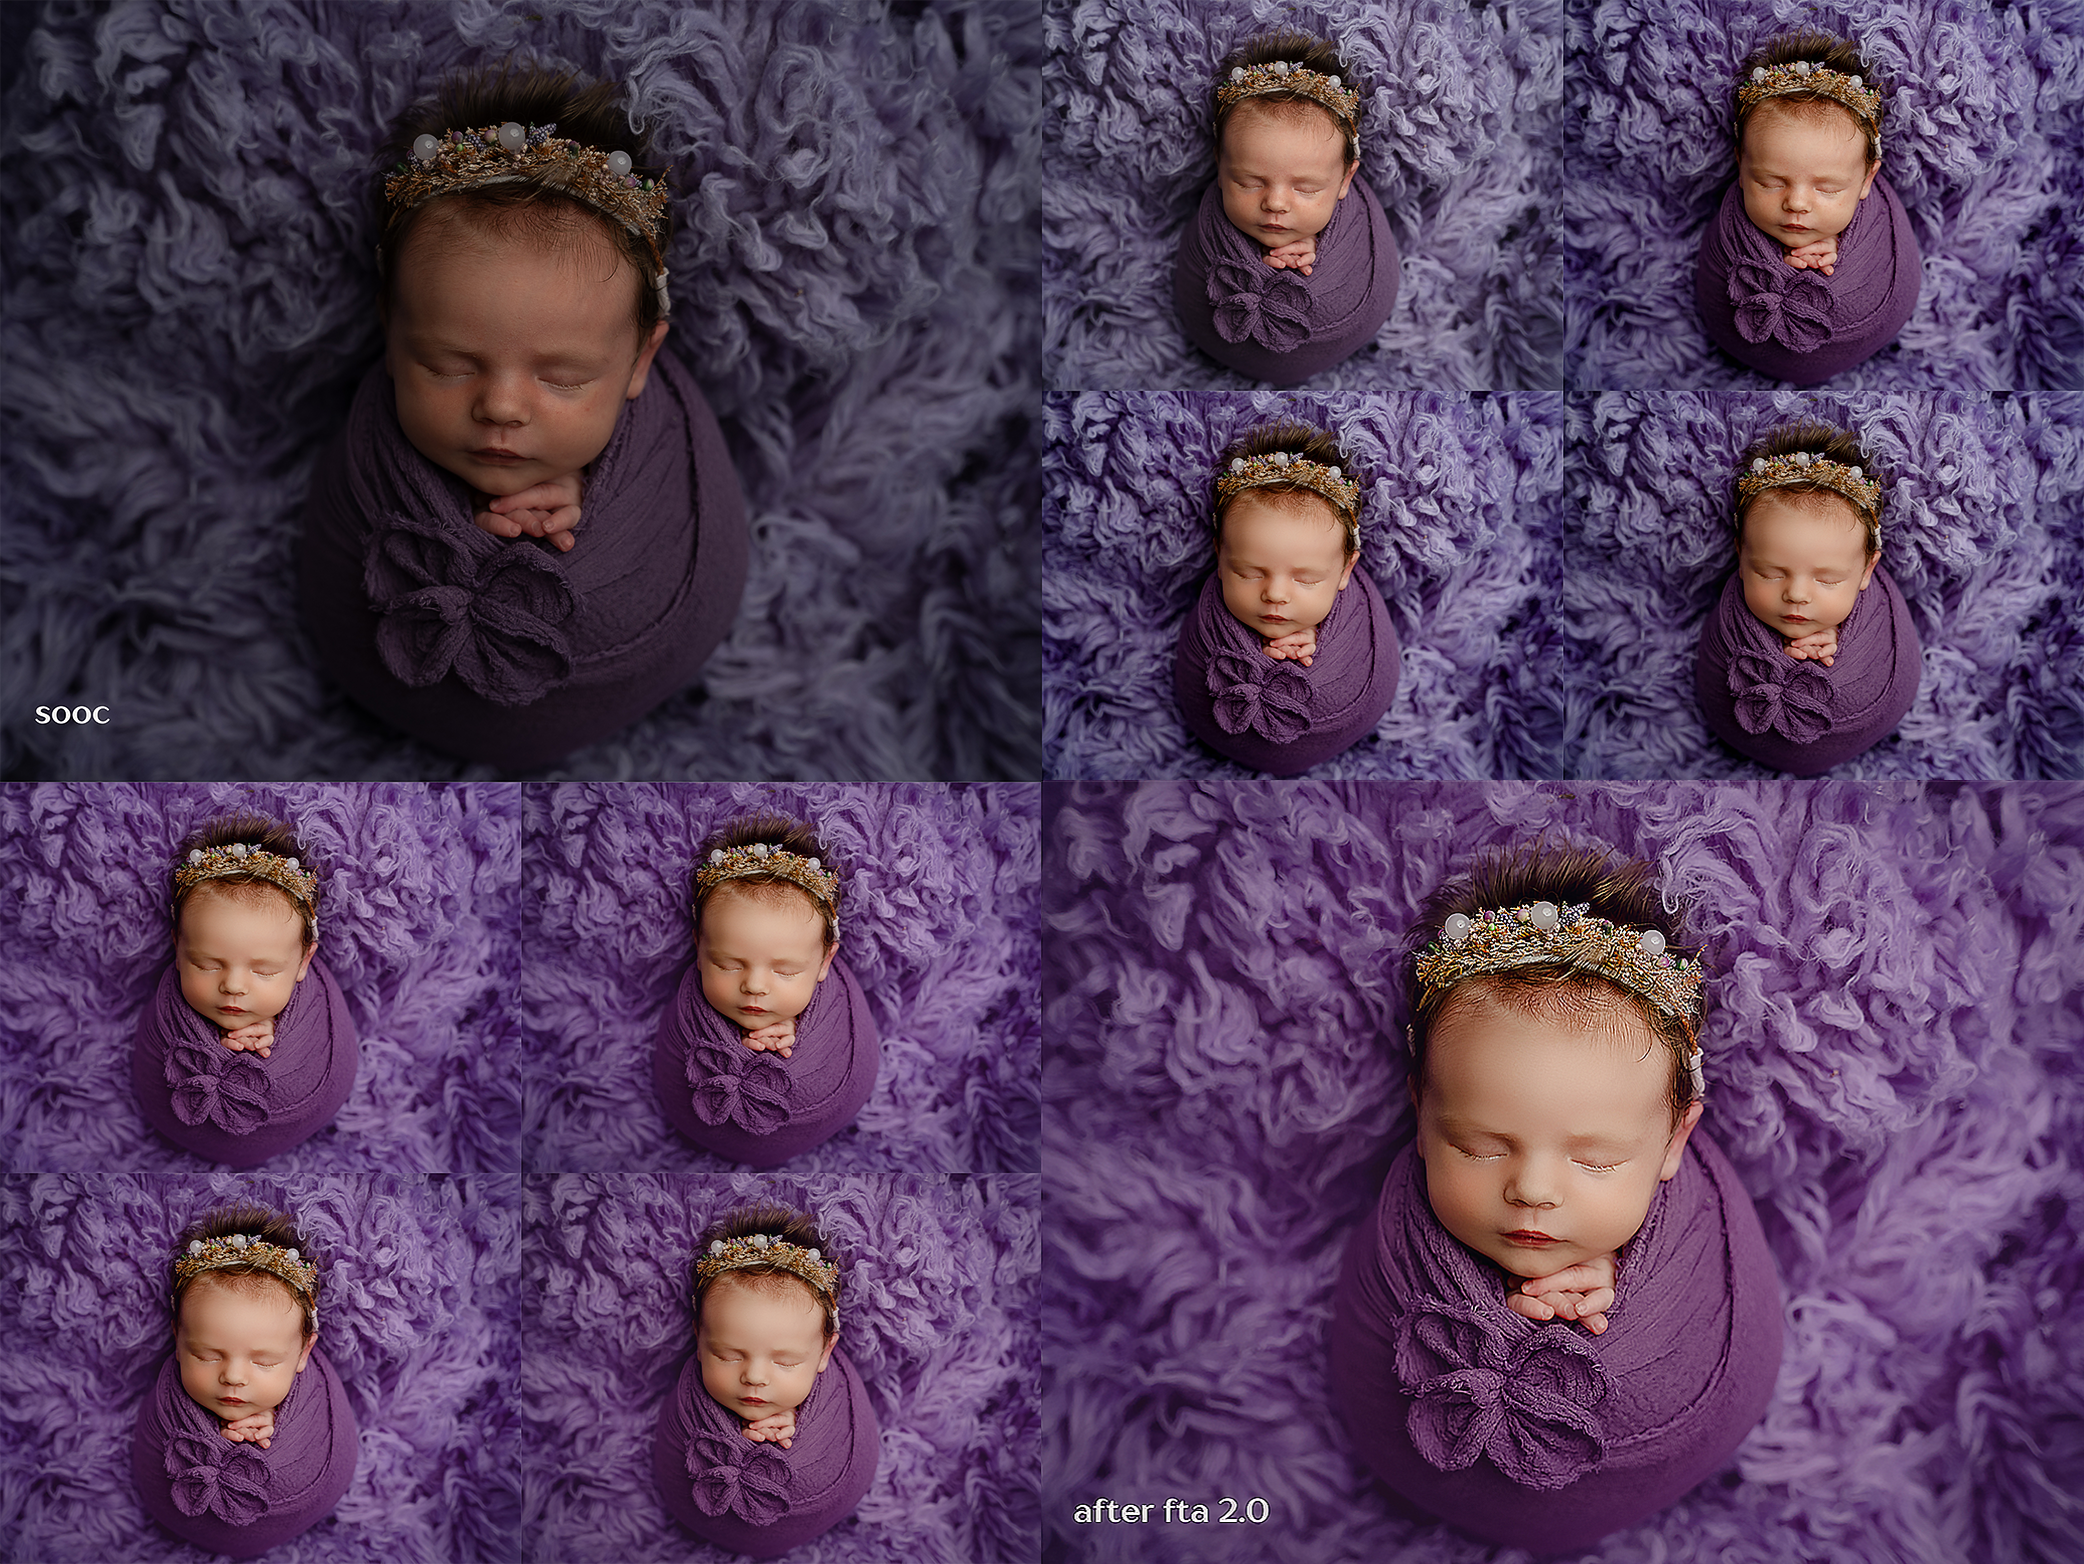
Here are some SOOCs


If you are just starting out your Newborn Photography journey or you have been on it for while, I would LOVE to be a part of it! I offer an Online Newborn Photography Education class that you could join!
Thank you so much for reading!!!
If I missed anything, please let me know!
Jess


2 comments
Hey Jessica! LOVE your work! I am wondering how tall and wide your LED “window” ends up being? Is it large enough to light a family?
Thank you so much for this! Where can i see an image of it used for family photos or pictures of older kids? when taking pics and the leds are at the side or behind the subject can u tell that its not one flat piece but rather separate stripes?
Leave a comment